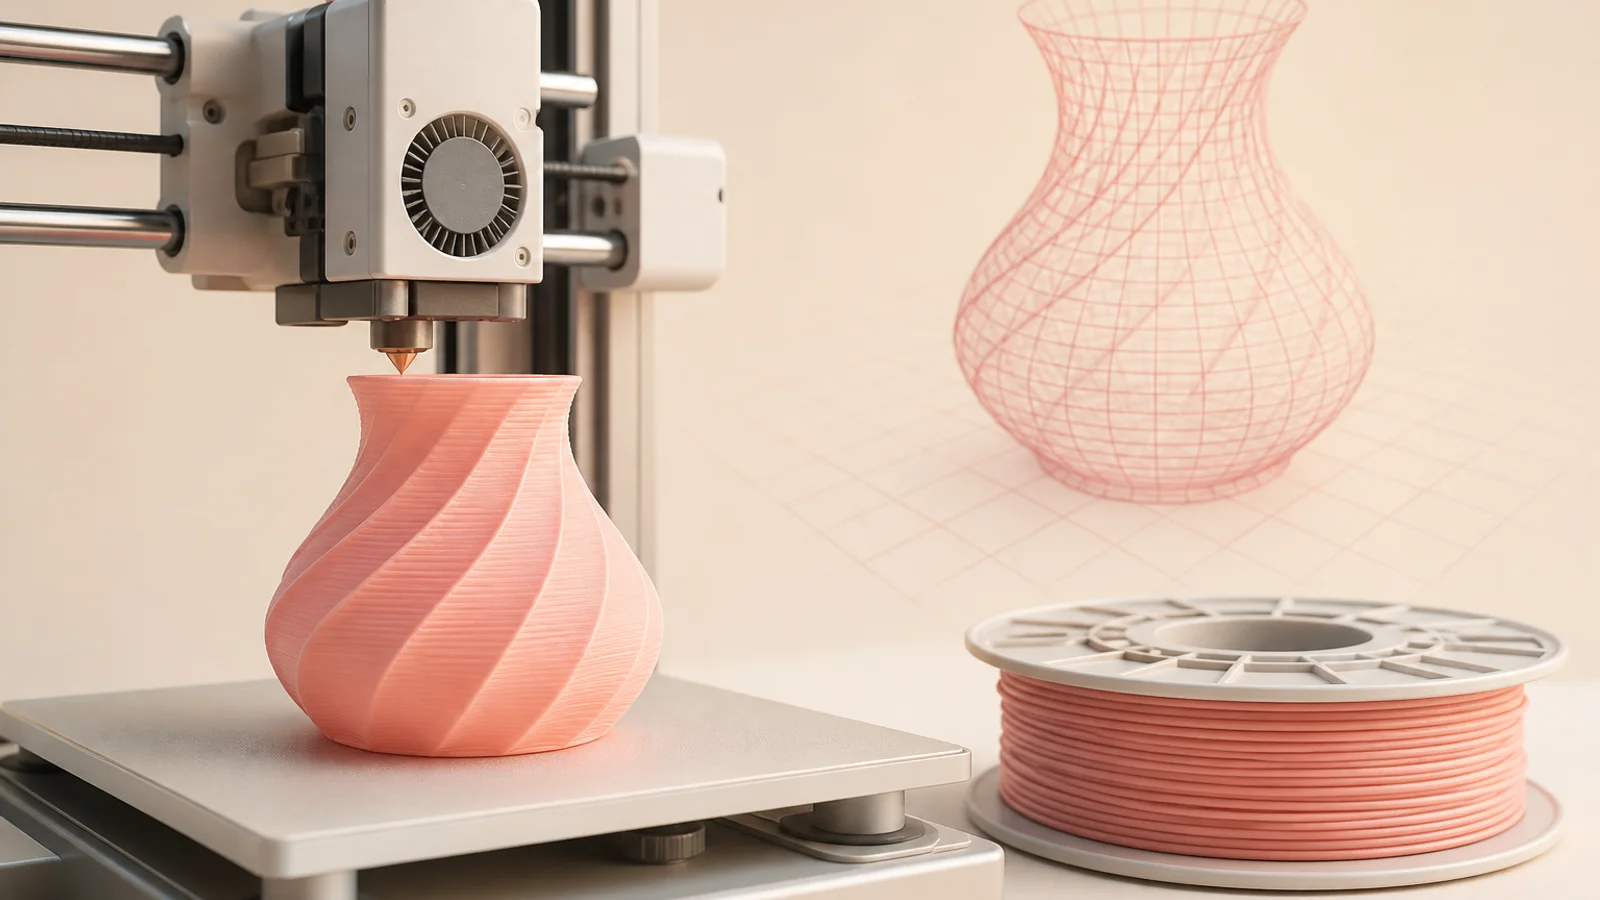
The first time I watched a 3D printer work, I had two thoughts.
The first was:
This is basically magic with a nozzle.
The second was:
Why is it taking so long to make one tiny plastic thing?
Both thoughts were reasonable.
3D printing has a strange way of looking futuristic and painfully practical at the same time. You start with a digital model on a screen, press a few buttons, and eventually a physical object appears on the print bed.
That sounds simple.
It is not always simple.
A better description would be:
You ask a machine to build an object one thin layer at a time, while heat, plastic, gravity, geometry, patience, and tiny mechanical gremlins negotiate the result.
That is less elegant.
It is also closer to the truth.
But once you understand the basic process, 3D printing becomes much less mysterious. It is not a magic box. It is a very specific kind of machine following very specific instructions, one layer at a time.
The simple version
3D printing is a way to create a physical object from a digital model.
Instead of cutting material away like carving wood or machining metal, many common 3D printers build objects by adding material layer by layer.
That is why you may hear the phrase additive manufacturing.
It sounds fancy, but the idea is simple:
Add material until the object exists.
For hobby printers, one of the most common methods is FDM or FFF printing. This is the kind where plastic filament is pushed through a heated nozzle, melted, and laid down in thin lines.
The printer draws one layer.
Then another.
Then another.
Eventually, those layers stack into a real object.
A hook. A toy. A replacement knob. A phone stand. A small bracket. A prototype part. A little dragon that exists because the internet collectively decided every 3D printer must eventually print a dragon.
The magic feeling comes from seeing a digital shape become physical.
The practical reality comes from everything that can go slightly wrong while getting there.
Step 1: You need a digital model
A 3D print starts with a 3D model.
This is the shape the printer will try to make.
The model might be:
- downloaded from a model library;
- designed by you in 3D software;
- scanned from a real object;
- generated or modified with digital tools;
- created as a prototype for something practical.
A 3D model is not the same as a normal photo or drawing.
It contains shape information in three dimensions: height, width, and depth.
Common file types include:
.STL;.OBJ;.3MF.
For beginners, .STL is probably the file type you will see most often. It describes the surface of the model using lots of tiny triangles.
Very glamorous.
A model can look perfect on screen and still be a problem for printing.
That is one of the first lessons.
A printer does not care that the object looks nice in your software. It cares whether the shape can be physically built layer by layer.
This is where digital dreams meet heated plastic.
Step 2: The slicer turns the model into instructions
A 3D printer does not usually print directly from the model file.
First, the model goes through a program called a slicer.
The slicer does exactly what the name suggests: it slices the model into layers.
Then it creates instructions for the printer.
These instructions are often saved as G-code.
G-code tells the printer things like:
- where to move;
- how fast to move;
- how hot the nozzle should be;
- how hot the bed should be;
- how much filament to push out;
- how thick each layer should be;
- where to add supports;
- how to build the inside structure.
The slicer is where many important decisions happen.
This is also where beginners discover that “print this” has approximately 4,000 settings hiding behind it.
Some slicer settings matter a lot:
- layer height;
- print speed;
- nozzle temperature;
- bed temperature;
- infill density;
- wall thickness;
- supports;
- retraction;
- adhesion settings.
You do not need to master everything on day one.
But you do need to understand that the slicer is not just a boring middle step.
It is the translator between the digital model and the physical machine.
If the translation is bad, the print may be bad.
The printer is not a mind reader. It is a very literal little worker with a hot nozzle.
Step 3: The printer builds in layers
Once the printer has instructions, it starts building.
For a common filament printer, the process looks roughly like this:
- The bed heats up.
- The nozzle heats up.
- Filament is pushed into the hot end.
- Melted plastic comes out of the nozzle.
- The printer lays down the first layer.
- The next layer is placed on top.
- The object slowly grows upward.
The first layer is extremely important.
I would like to say this gently, but I cannot:
The first layer is where many prints go to live or die.
If the first layer does not stick well, the whole print can fail.
If the nozzle is too high, the filament may not press onto the bed properly.
If the nozzle is too low, it may scrape, smear, or block the flow.
If the bed is dirty, uneven, too cool, too hot, or simply in a bad mood, adhesion can suffer.
This is why 3D printing teaches patience.
Not in a peaceful mountain way.
More in a “why is this tiny corner lifting again” way.
Filament: the material that becomes the object
Filament is the material used by many beginner-friendly 3D printers.
It usually comes on a spool.
The printer pulls the filament in, melts it, and lays it down layer by layer.
Common filament types include:
- PLA;
- PETG;
- ABS;
- TPU.
For beginners, PLA is often the easiest place to start.
PLA is popular because it is relatively easy to print, does not usually require extreme temperatures, and works well for many simple objects.
PETG is often stronger and more temperature-resistant than PLA, but it can be stringier and a little more stubborn.
ABS can be useful, but it often needs more heat, better ventilation, and more control over the printing environment.
TPU is flexible, which sounds fun until you realize flexible filament can behave like cooked spaghetti with ambitions.
Each material has tradeoffs.
This is a theme in 3D printing.
Actually, this is a theme in most technology.
There is rarely one perfect setting, one perfect material, or one perfect answer. There is usually a tradeoff wearing safety glasses.
Infill: why prints are not always solid
A 3D printed object does not always need to be solid plastic.
In fact, many prints are partly hollow inside.
The internal structure is called infill.
Infill can be low, medium, or high depending on what you need.
A decorative object might use low infill.
A functional part might need more.
The slicer can create different infill patterns, such as grids, lines, triangles, or honeycomb-like structures.
Infill affects:
- strength;
- weight;
- print time;
- material use;
- feel of the object.
More infill is not automatically better.
It uses more material and increases print time.
Sometimes wall thickness matters more than infill. Sometimes print orientation matters more. Sometimes the part design itself is the real issue.
This is one of those places where beginners learn that strength is not just “make it more solid.”
Physical objects have opinions.
Supports: temporary scaffolding for awkward shapes
3D printers are impressive, but they cannot print in midair.
If part of your model hangs out with nothing underneath it, the printer may need supports.
Supports are temporary structures printed underneath overhangs.
They hold up parts of the model during printing and are removed afterward.
Think of them like scaffolding.
Useful.
Temporary.
Often slightly annoying.
Supports can make difficult shapes printable, but they also create extra work.
They use more material.
They increase print time.
They can leave marks on the surface.
They can be easy to remove, or they can cling to the print like they have emotional attachment issues.
A good 3D model for printing often tries to reduce the need for supports where possible.
This is why designing for 3D printing is different from just making a cool shape in 3D software.
A shape can be beautiful on screen and deeply rude to a printer.
Why prints fail
Print failures are part of 3D printing.
This is not inspirational.
It is just true.
Every 3D printing person eventually develops a small internal museum of failed prints.
A corner lifts.
A support breaks.
The nozzle clogs.
The filament tangles.
The model warps.
The printer makes spaghetti.
And yes, “spaghetti” is a real word people use for failed prints where loose plastic piles up in chaotic strands.
It is one of the rare technical terms that is both accurate and emotionally honest.
Common reasons prints fail include:
- poor first-layer adhesion;
- wrong nozzle temperature;
- wrong bed temperature;
- printing too fast;
- wet filament;
- clogged nozzle;
- bad bed leveling;
- not enough supports;
- model errors;
- poor cooling;
- incorrect slicer settings.
The frustrating part is that different problems can look similar.
The useful part is that failures teach you what to check.
A failed print is not just trash.
It is a clue with edges.
Sometimes sharp ones.
3D printing is slow for a reason
One beginner surprise is how long prints take.
A small object might take an hour.
A larger object might take ten hours.
A detailed object might take much longer.
This can feel absurd when the object is physically small.
But remember: the printer is drawing thin lines of melted material, layer by layer, with controlled movement.
It is not teleporting a finished object into existence.
Rude, but understandable.
Print time depends on:
- object size;
- layer height;
- print speed;
- infill;
- wall thickness;
- supports;
- nozzle size;
- material;
- quality settings.
Lower layer height can produce smoother prints, but it usually takes longer.
Higher speed can save time, but may reduce quality or reliability.
More infill can increase strength, but also increases print time.
Again: tradeoffs.
The unofficial motto of 3D printing could be:
You may have speed, strength, surface quality, and reliability. Please choose carefully and prepare to argue with physics.
What 3D printing is good for
3D printing is great for certain things.
It is especially useful for:
- prototypes;
- custom parts;
- small brackets;
- replacement pieces;
- cases and mounts;
- educational models;
- tabletop miniatures;
- jigs and fixtures;
- cosplay pieces;
- design testing;
- one-off objects;
- objects that would be annoying to make another way.
The real power is customization.
You can make something that fits your exact desk, shelf, tool, cable, camera, drawer, printer, hobby, or weirdly specific problem.
This is where 3D printing feels wonderful.
Not because it replaces every manufacturing method.
It does not.
But because it lets you turn “I need a small plastic thing shaped exactly like this” into a weekend project instead of a shopping quest through six websites and one questionable product listing.
What 3D printing is bad at
3D printing is not perfect.
It can be bad at:
- large-scale production;
- very fast manufacturing;
- perfectly smooth surfaces without post-processing;
- parts that need extreme strength;
- food-safe objects unless carefully designed and finished;
- high-heat applications with the wrong material;
- objects that need precise mechanical tolerances;
- prints that must be identical every time without tuning.
A 3D printed part can be strong, but strength depends on design, material, print orientation, layer adhesion, slicer settings, and how the part will be used.
This is why I get suspicious when people talk about 3D printing like it can make anything.
It can make many things.
It cannot make good decisions for you.
Yet.
And if one day it can, I hope it begins by deciding to level its own bed perfectly.
Where AI fits into 3D printing
AI can be useful around 3D printing, but it does not remove the physical reality of printing.
AI tools may help with:
- generating design ideas;
- writing descriptions;
- helping troubleshoot issues;
- suggesting slicer settings;
- analyzing failure photos;
- creating rough 3D concepts;
- organizing a project workflow.
But the printer still has to deal with heat, material, movement, adhesion, cooling, and gravity.
AI can suggest.
Plastic still negotiates.
If you want the broader idea of AI without the fog, I explained what AI really is separately.
For 3D printing, I think AI is best treated as a helper, not a magic print-success button.
A chatbot can suggest why your print failed.
It cannot reach through the screen and clean your print bed.
Which is inconsiderate, honestly.
A tiny glossary
3D model
A 3D model is a digital shape made in three dimensions. It is the object you want to print, but it still needs to be prepared for the printer.
STL
STL is a common 3D model file format used for printing. It describes the surface of a model using triangles.
Slicer
A slicer is software that turns a 3D model into printer instructions, usually by slicing it into layers.
G-code
G-code is a set of instructions that tells the printer where to move, how fast to move, how hot to get, and how much material to extrude.
Filament
Filament is the material used by many 3D printers. It usually comes as a plastic strand on a spool.
Nozzle
The nozzle is the small heated tip where melted filament comes out.
Print bed
The print bed is the surface where the object is built.
Layer height
Layer height is the thickness of each printed layer. Smaller layers can look smoother but usually take longer.
Infill
Infill is the internal structure inside a print. It affects strength, weight, material use, and print time.
Supports
Supports are temporary structures printed to hold up overhanging parts of a model.
Warping
Warping happens when parts of a print shrink or lift as they cool, often causing corners to curl upward.
My take
3D printing is not magic.
It is also not just “press print and receive object.”
It sits somewhere between digital design, mechanical tuning, material behavior, and stubborn patience.
That is what makes it frustrating.
That is also what makes it satisfying.
A successful print feels good because you did not just download a thing. You helped translate an idea into an object. You made decisions about material, settings, shape, support, strength, and time.
And when it works, there is a tiny moment where the future feels very real.
Then you notice a little stringing on the side and start thinking about retraction settings.
This is the hobby.
The beginner goal is not to master every setting immediately.
The goal is to understand the chain:
model → slicer → settings → printer → material → layers → object
Once that chain makes sense, failures become less mysterious.
Still annoying.
But no longer random.
And that is usually the moment 3D printing becomes fun: when the machine stops feeling like a magic box and starts feeling like a slightly dramatic tool you can actually learn.

Jane Calder
I'm Jane Calder, the writer behind Jane Decodes. I research AI, crypto, 3D, web technology, and strange science rabbit holes, then turn them into plain-English explanations for people who like learning but dislike being attacked by jargon.
Usually powered by coffee, browser tabs, and the stubborn belief that almost anything can be explained better.
Related posts
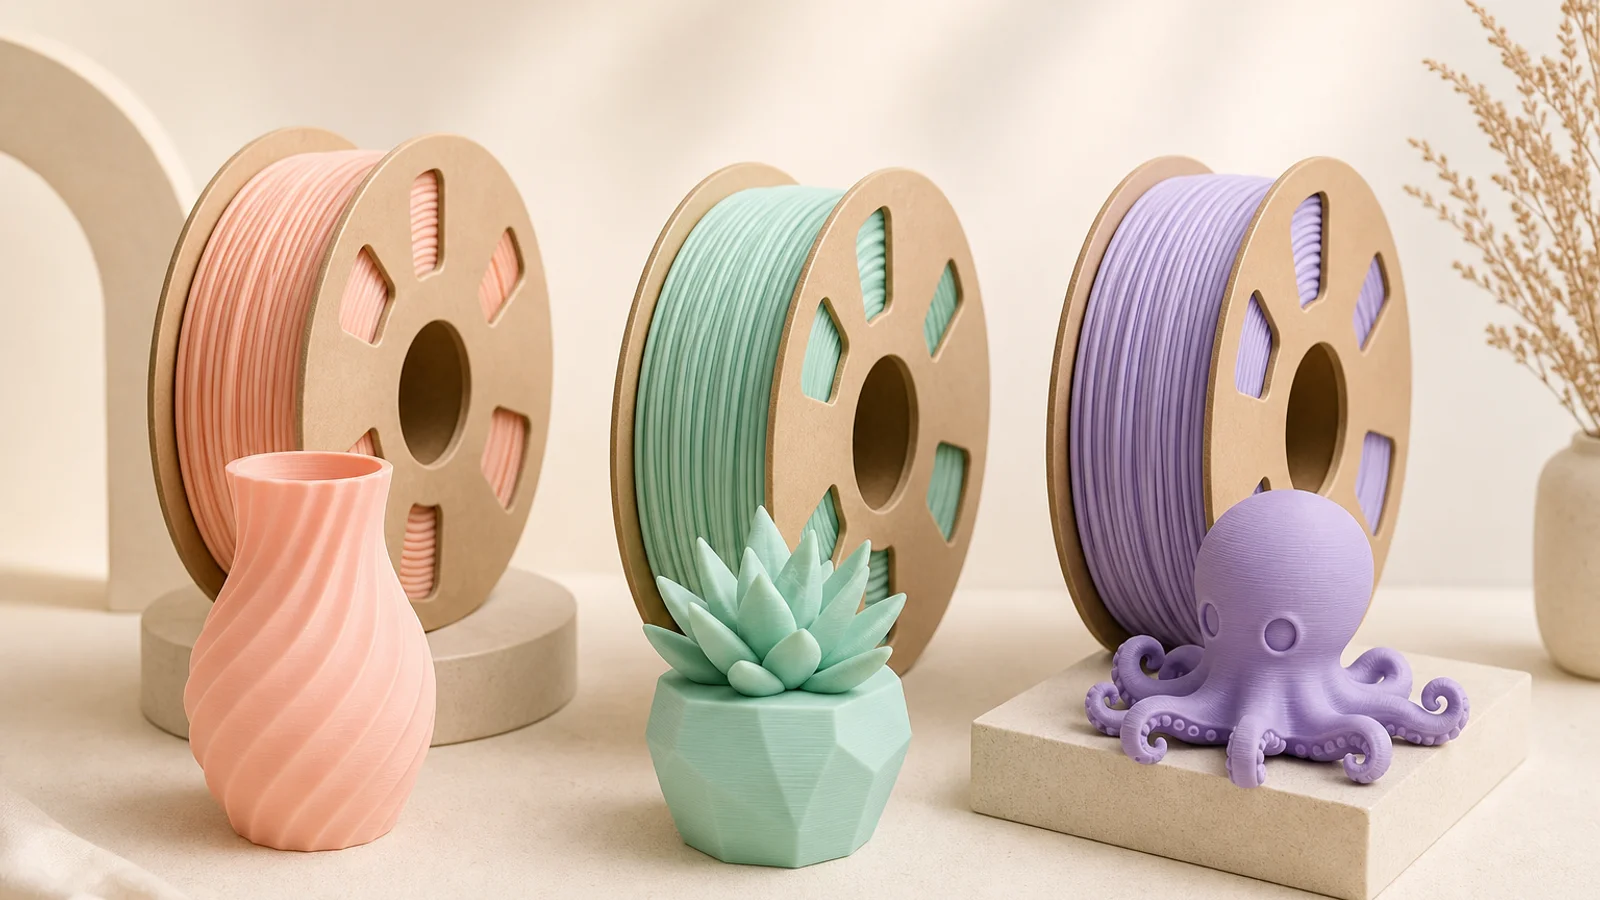
Filament Types Explained: PLA, PETG, ABS, TPU, and the Plastic Personality Problem
A beginner-friendly explanation of common 3D printing filament types, including PLA, PETG, ABS, TPU, print difficulty, strength, flexibility, heat resistance, and when to use each one.
Read article →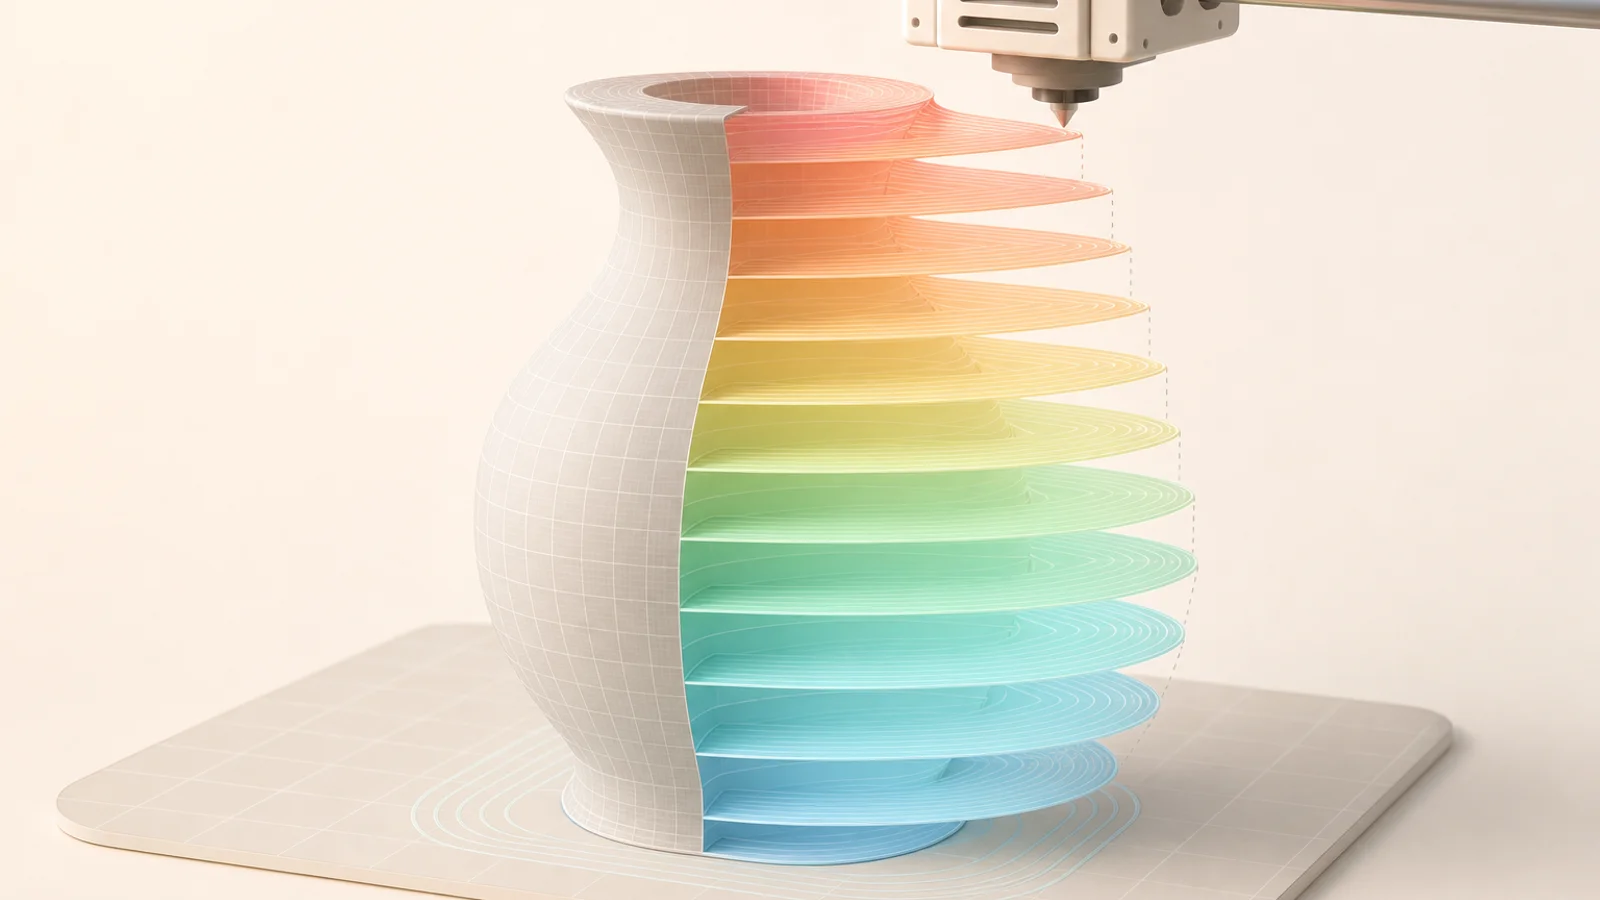
What Is a 3D Printing Slicer? The Translator Between Model and Machine
A beginner-friendly explanation of 3D printing slicers, G-code, layer height, infill, supports, temperatures, speed, and why slicer settings matter so much.
Read article →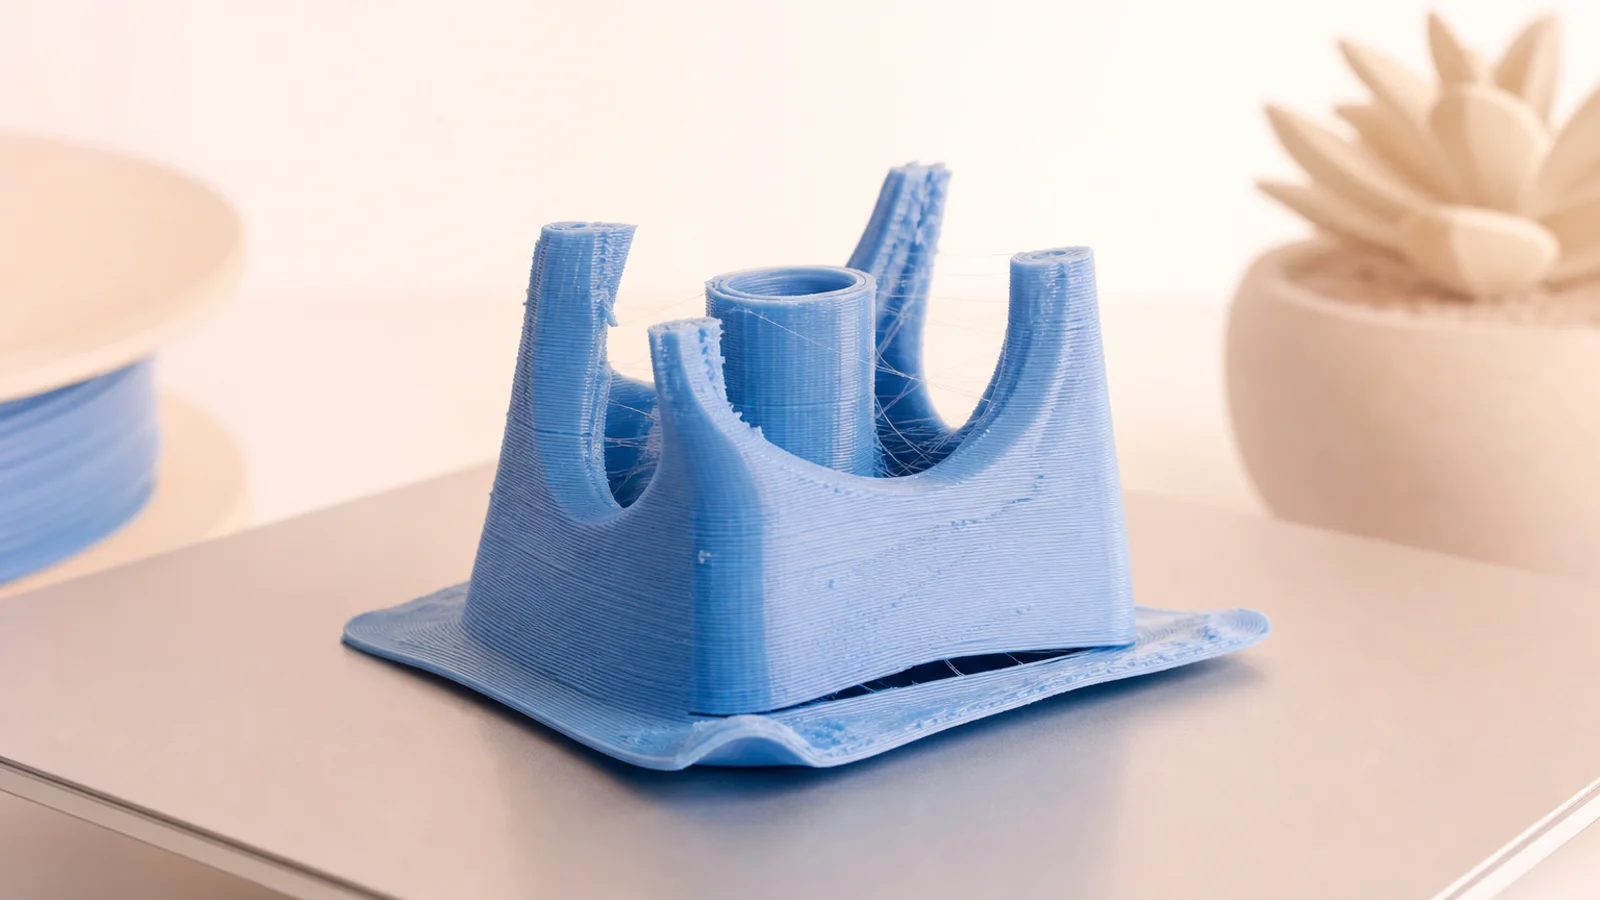
Why 3D Prints Fail: First Layers, Spaghetti, and Tiny Mechanical Drama
A beginner-friendly guide to common 3D printing failures, including first layer problems, spaghetti prints, warping, clogs, stringing, supports, and slicer mistakes.
Read article →