A 3D printer does not look at your beautiful digital model and think:
Ah yes. I understand the artistic intention. I shall now create the object.
That would be lovely.
It would also be completely false.
A 3D printer is much more literal than that. It needs instructions. Specific instructions. Tiny movement-by-movement instructions. Heat this. Move there. Push filament now. Stop pushing filament. Move again. Build this line. Build the next line. Please do not turn this model into spaghetti.
That last one is more of a dream than an instruction.
The software that creates those instructions is called a slicer.
And if you are new to 3D printing, the slicer is where the hobby suddenly reveals that “just print it” was a deeply optimistic sentence.
The slicer is not just a boring middle step.
It is the translator between your 3D model and your printer.
And like all translators, it can do a good job, a weird job, or a job that makes everyone involved question their choices.
The simple version
A 3D printing slicer is software that turns a 3D model into instructions your printer can follow.
Your 3D model might be an .STL, .OBJ, or .3MF file.
The printer usually cannot use that model directly.
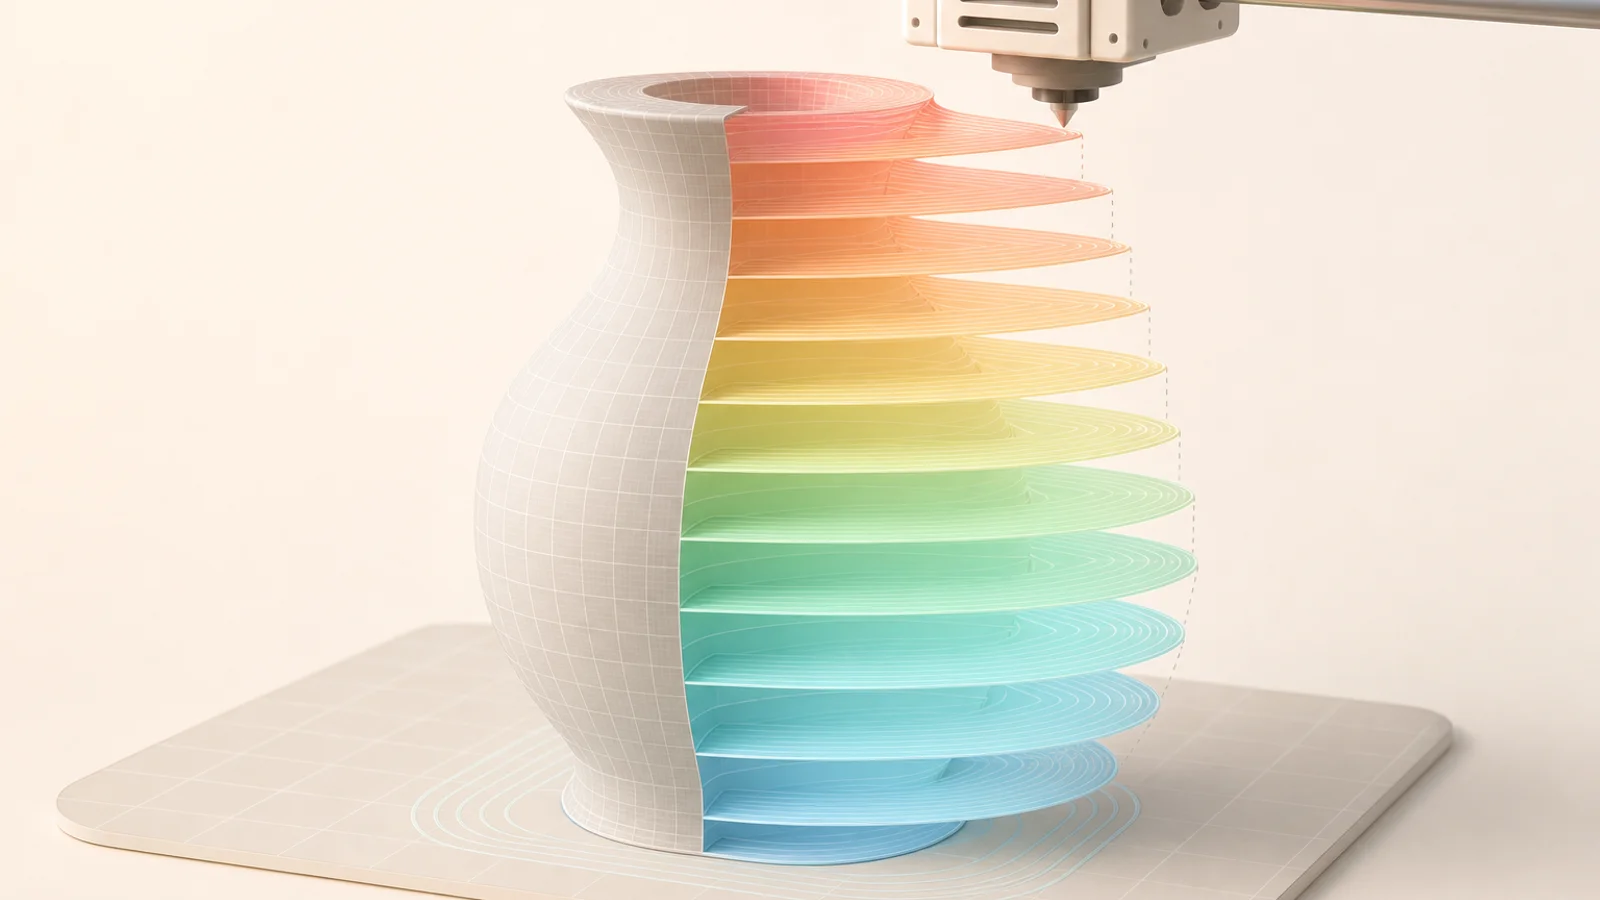
So the slicer cuts the model into thin layers, calculates how each layer should be printed, and creates a file of printer instructions, often called G-code.
That G-code tells the printer things like:
- where to move;
- how fast to move;
- how hot the nozzle should be;
- how hot the bed should be;
- how much filament to push out;
- where to print walls;
- where to print infill;
- where to add supports;
- how to handle travel moves;
- when to turn cooling fans on or off.
If the 3D model is the idea, the slicer is the plan.
If the printer is the worker, the slicer writes the work order.
And if the settings are wrong, the printer will still follow them with tragic loyalty.
That is the part beginners learn quickly.
The printer is not judging the instructions.
It is obeying them.
Why the slicer matters so much
A beginner might think the printer does most of the important work.
That is understandable.
The printer is the machine moving around, making noise, heating things, and producing the object. It is very visible. It has drama.
But the slicer quietly controls many decisions that affect the result.
The same model can print differently depending on slicer settings.
One version may be:
- strong;
- clean;
- slow;
- material-heavy;
- well-supported.
Another version may be:
- weak;
- fast;
- messy;
- under-supported;
- likely to detach halfway through and become plastic noodles.
Same model.
Different instructions.
Different outcome.
This is why slicer settings matter.
A slicer decides how the model becomes layers.
And 3D printing is basically layers having a long conversation with gravity.
If you are still getting the whole process straight, I explained the broader chain in my beginner guide to 3D printing basics. The short version is:
model → slicer → settings → printer → material → layers → object
The slicer sits right in the middle.
Which is exactly where a lot of trouble begins.
From model to layers
A 3D model is usually a surface shape.
It describes the outside of an object.
But a printer needs to build the object one layer at a time.
So the slicer cuts the model into horizontal slices.
Each slice becomes one layer.
Layer by layer, the slicer figures out:
- the outer walls;
- the inner walls;
- the top and bottom surfaces;
- the infill pattern;
- the support structures;
- the nozzle path;
- the movement order.
This is why layer height matters.
A smaller layer height means thinner layers.
Thinner layers can make the print look smoother and capture more detail.
But they usually take longer.
A larger layer height means thicker layers.
Thicker layers can print faster, but the surface may look more stepped or less detailed.
Neither is automatically better.
A tiny decorative figure might benefit from smaller layers.
A rough workshop bracket might not need them.
The slicer lets you choose.
Which is both useful and dangerous, because every setting is an invitation to overthink your life.
G-code: the printer’s instruction language
After slicing, the software creates G-code.
G-code is a set of instructions for the printer.
A G-code file can include commands for:
- movement;
- extrusion;
- temperatures;
- fan speed;
- homing;
- bed leveling routines;
- pauses;
- tool changes;
- start and end sequences.
It is not written for human beauty.
G-code does not care about your feelings.
It looks like machine instructions because that is what it is.
A simplified G-code command might tell the printer to move to a specific coordinate while extruding a certain amount of filament.
The printer reads those instructions and follows them.
This is why previewing G-code in the slicer is useful.
You can often see:
- where the nozzle will move;
- where supports will appear;
- how infill will be built;
- how each layer looks;
- whether tiny parts might fail;
- whether the print path seems strange.
The preview is like a rehearsal.
A very useful rehearsal.
If something looks wrong in the preview, it probably will not magically become correct on the printer.
Printers are many things.
Miracle workers are not usually on the list.
The settings beginners meet first
Slicers contain many settings.
At first, this can feel like opening the cockpit of an airplane when all you wanted was a sandwich.
But beginners do not need to understand every setting immediately.
Start with the big ones.
Layer height
Layer height controls how thick each printed layer is.
Common values might be around 0.2 mm for a general print, but this depends on printer, nozzle, material, and goal.
Smaller layer height:
- smoother surface;
- more detail;
- longer print time.
Larger layer height:
- faster printing;
- more visible layer lines;
- less fine detail.
Layer height is one of the easiest settings to understand because you can often see the difference.
It is also one of the first tradeoffs:
quality vs time.
Technology loves making you choose.
Wall thickness
Walls are the outer shell of the print.
The slicer decides how many perimeter lines to print around the outside.
More walls can make a part stronger.
Fewer walls can save material and time.
For functional parts, wall thickness often matters a lot.
Beginners sometimes focus only on infill percentage, but walls can be more important for strength than expected.
A part with strong walls and moderate infill may be better than a part with weak walls and lots of internal plastic.
Strength is sneaky like that.
It does not always live where beginners expect.
Infill
Infill is the internal structure inside a print.
Most 3D prints are not solid.
The slicer creates a pattern inside the object to save material and time while still giving structure.
Common infill patterns include:
- grid;
- lines;
- gyroid;
- cubic;
- triangle;
- honeycomb-like patterns.
Infill percentage controls how dense that internal structure is.
Low infill might be fine for decorative objects.
Higher infill may be useful for parts that need strength.
But more infill is not automatically better.
It uses more filament.
It takes more time.
It can create more heat inside the part.
And sometimes the real strength problem is the model shape, wall thickness, print orientation, or material.
Not infill.
This is one of the slicer’s quiet lessons:
The obvious setting is not always the important setting.
Rude, but educational.
Top and bottom layers
The slicer also controls how many solid layers are printed at the top and bottom of the object.
Too few top layers can create gaps or weak surfaces, especially over low infill.
Too few bottom layers can affect strength and appearance.
Top layers matter because they close the object.
If there are not enough, the print can look thin, rough, or unfinished.
This can create a surface that looks like it is trying its best but has not slept.
Adding top layers can improve the finish.
It also adds time.
Again: tradeoff.
At this point, 3D printing should probably come with a tiny sign that says “Everything costs something.”
Supports
Supports are temporary structures that hold up overhangs.
The slicer decides where supports are needed based on your settings and the model shape.
Supports can be extremely useful.
They can also be annoying little clingy structures that refuse to leave cleanly.
Support settings affect:
- where supports appear;
- how dense they are;
- how easy they are to remove;
- how much surface marking they leave;
- how much material they use;
- how long the print takes.
Beginner mistake:
Turning supports on and hoping for the best.
Better habit:
Preview supports before printing.
Ask:
- Are supports actually needed?
- Are they touching important visible surfaces?
- Will they be easy to remove?
- Is there a better orientation?
- Can the model be redesigned to need fewer supports?
Sometimes rotating the model is better than adding a forest of supports.
The slicer gives options.
The printer gives consequences.
Brims, rafts, and skirts
These settings help with print setup and bed adhesion.
Skirt
A skirt is a line printed around the object but not attached to it.
It helps prime the nozzle and lets you see whether filament is flowing properly.
It is like the printer stretching before the workout.
Brim
A brim is attached to the base of the print and extends outward.
It helps improve bed adhesion, especially for parts with small contact areas or corners that might lift.
A brim is like giving the print wider shoes.
Not fashionable.
Useful.
Raft
A raft is a thicker base printed under the object.
The print is built on top of it.
Rafts can help with difficult adhesion problems, but they use more material and can affect the bottom surface.
I think of rafts as the “fine, we are doing this the dramatic way” option.
Useful sometimes.
Not always necessary.
Temperature settings
The slicer controls nozzle and bed temperatures.
These matter because filament behaves differently depending on heat.
Nozzle temperature affects:
- how well filament melts;
- layer adhesion;
- stringing;
- under-extrusion;
- surface finish;
- clogs.
Bed temperature affects:
- first-layer adhesion;
- warping;
- material behavior;
- print stability.
Too cold, and the filament may not bond well.
Too hot, and the print may string, blob, sag, or look melted.
Each material has a recommended temperature range.
PLA, PETG, ABS, TPU — they all behave differently.
Even different brands of the same material can have preferences.
Filament is apparently allowed to have opinions.
The slicer is where you negotiate with those opinions.
Speed settings
Speed controls how fast the printer moves while printing.
Faster printing sounds better.
Of course it does.
Nobody looks at a six-hour print and thinks:
Could this perhaps become seven?
But speed is not free.
Printing too fast can cause:
- poor layer adhesion;
- ringing or ghosting;
- under-extrusion;
- weak parts;
- rough surfaces;
- failed supports;
- loss of detail;
- mechanical stress.
Slower printing can improve quality and reliability, but increases print time.
Again, tradeoff.
For beginners, it is usually better to get reliable prints first, then increase speed later.
Speed is fun.
Successful prints are more fun.
This is a hill I will sit on with a cup of tea.
Retraction
Retraction is a setting that pulls filament back slightly when the nozzle travels without printing.
The goal is to reduce oozing and stringing.
If retraction is too low, you may get strings between parts.
If retraction is too high, you can cause clogs, grinding, or inconsistent extrusion.
Retraction settings can include:
- distance;
- speed;
- minimum travel distance;
- extra restart amount;
- combing or wipe behavior, depending on slicer.
This is one of those settings that sounds small but can change print quality a lot.
If your print looks like it walked through a spider web, retraction may be involved.
Or temperature.
Or wet filament.
Or travel speed.
Or because 3D printing likes giving one symptom five possible causes.
Cooling
Cooling fans help control how the plastic solidifies.
Cooling is especially important for small details, overhangs, bridges, and materials like PLA.
Too little cooling can cause sagging or messy details.
Too much cooling can hurt layer adhesion or cause warping with some materials.
Different materials want different cooling.
PLA often likes cooling.
ABS usually does not like aggressive cooling because it can warp.
PETG is somewhere in the “please be thoughtful” zone.
The slicer may let you set fan speed by layer, material, or print feature.
This matters because cooling is not just comfort for the print.
It changes how the material behaves.
Plastic is dramatic when temperature changes.
I cannot judge.
So am I.
Print orientation
Print orientation means how the model is placed on the bed.
This can affect:
- strength;
- surface quality;
- supports;
- print time;
- bed adhesion;
- failure risk;
- visible layer lines.
A part printed upright may be weaker in one direction.
A part printed flat may need fewer supports.
A decorative model might look better in one orientation.
A functional bracket might be stronger in another.
The slicer lets you rotate and position the model before generating G-code.
This is one of the most powerful beginner choices.
Sometimes a failed print does not need exotic settings.
It just needs to be rotated.
Which is deeply annoying if you spent an hour adjusting temperatures first.
Preview mode: your best friend
The slicer preview is not optional in my emotional universe.
Before printing, preview the sliced model.
Look at:
- first layer;
- supports;
- infill;
- walls;
- top layers;
- travel moves;
- tiny islands;
- overhangs;
- print time;
- material estimate;
- layer transitions.
Preview mode can reveal problems before plastic is wasted.
For example:
- a tiny part may start in midair;
- supports may be missing;
- infill may look too sparse;
- a wall may be too thin to print;
- a top surface may not close well;
- the model may have strange gaps.
A slicer preview is like asking:
Are we sure this plan makes sense?
This is a good question.
In life and in G-code.
Slicer profiles
Most slicers use profiles.
A profile is a saved group of settings for a printer, material, nozzle, or print quality.
For example, you might have profiles for:
- PLA draft;
- PLA quality;
- PETG strong;
- TPU slow;
- 0.4 mm nozzle;
- 0.6 mm nozzle;
- fast prototype;
- detailed miniature.
Profiles are useful because they prevent you from rebuilding settings from scratch every time.
They also make it easier to test changes.
If a print fails, you can compare profiles and settings.
A good profile is not magic.
It is a starting point.
Printers vary.
Filament varies.
Rooms vary.
Humidity exists because apparently the world wanted another variable.
So profiles help, but tuning still matters.
Why slicers estimate time badly
Slicers estimate print time.
Sometimes they are close.
Sometimes they lie with confidence.
Print time estimates depend on how accurately the slicer understands the printer’s actual acceleration, speed limits, firmware behavior, travel moves, and other details.
If the slicer assumes the printer moves faster than it really does, the estimate may be too optimistic.
Also, printers may slow down for small layers, cooling, acceleration, minimum layer time, and other settings.
This is why your slicer may say:
3 hours 40 minutes.
And your printer says:
Interesting theory. See you in 5 hours.
Not ideal.
But common.
Better calibration and printer profiles can improve estimates.
Still, I treat print time like weather forecasts.
Useful.
Not legally binding.
Slicer settings and failed prints
Many failed prints begin in the slicer.
Not all.
Mechanical issues matter too.
Filament matters.
Bed cleanliness matters.
The printer itself matters.
But slicer settings can absolutely cause problems.
For example:
- bad first-layer settings can cause adhesion failure;
- too much speed can cause weak parts;
- too little support can cause collapsed overhangs;
- wrong temperature can cause stringing or under-extrusion;
- too little infill or wall thickness can cause weak parts;
- poor retraction can cause strings;
- bad orientation can make the print harder than necessary.
I wrote more about troubleshooting in why 3D prints fail, but the slicer is one of the first places I would look.
Not because it is always guilty.
Because it is often involved.
The slicer is the meeting room where the model, material, and printer all negotiate.
And sometimes the meeting notes are bad.
Common beginner mistakes
Here are slicer mistakes I would avoid.
Mistake 1: Using default settings forever
Default profiles can be a good starting point.
They are not sacred.
As you learn your printer and materials, you will adjust settings.
Default settings are training wheels.
Useful.
Not destiny.
Mistake 2: Changing too many settings at once
If you change ten settings and the print improves, you will not know which change helped.
If it gets worse, congratulations, you have created a new mystery.
Change one or two things at a time.
Take notes.
Future you will pretend to be grateful and then actually be grateful.
Mistake 3: Ignoring preview mode
Preview the print.
Every time.
The slicer may reveal a problem before the printer spends three hours making evidence.
Mistake 4: Thinking more infill always means stronger
Sometimes walls, orientation, material, and design matter more.
More infill can help, but it is not a universal strength button.
Mistake 5: Printing too fast too soon
Speed is tempting.
Reliable settings first.
Speed later.
The printer should learn to walk before you ask it to sprint while carrying molten plastic.
Mistake 6: Forgetting material differences
PLA settings are not PETG settings.
PETG settings are not ABS settings.
TPU settings are not “good luck, may your extruder remain calm,” although emotionally it can feel that way.
Use material-appropriate profiles.
Mistake 7: Not saving working profiles
When you find settings that work, save them.
Do not rely on memory.
Memory is where good settings go to vanish during software updates.
A tiny glossary
Slicer
A slicer is software that turns a 3D model into printer instructions.
It slices the model into layers and creates G-code.
G-code
G-code is the instruction language many 3D printers follow.
It tells the printer where to move, how hot to get, and how much filament to extrude.
Layer height
Layer height is the thickness of each printed layer.
Smaller layers can look smoother but usually take longer.
Wall thickness
Wall thickness controls the outer shell strength of the print.
More walls can make a part stronger.
Infill
Infill is the internal structure inside a 3D print.
It affects strength, weight, material use, and print time.
Support
Supports are temporary printed structures that hold up overhanging parts.
They are removed after printing.
Brim
A brim is a flat extension around the base of a print to improve bed adhesion.
Raft
A raft is a printed base under the model.
It can help with adhesion but uses more material.
Retraction
Retraction pulls filament back slightly during travel moves to reduce oozing and stringing.
Travel move
A travel move is when the nozzle moves without printing.
Print profile
A print profile is a saved group of slicer settings for a printer, material, or quality level.
Preview mode
Preview mode shows the sliced print layer by layer before printing.
It helps you catch problems early.
My take
A slicer is not just a button you press before printing.
It is where the digital model becomes a physical plan.
That plan decides layers, walls, supports, infill, temperatures, speeds, cooling, movement, and a surprising amount of the final print’s personality.
A good slicer setup cannot fix every problem.
It cannot make bad filament dry.
It cannot tighten a loose belt.
It cannot clean your print bed, which is inconsiderate.
But it can prevent many problems before they happen.
The beginner goal is not to master every setting immediately.
That would be cruel.
The goal is to understand what the slicer is doing:
turning a shape into a sequence of tiny physical decisions.
Once you see that, 3D printing becomes less mysterious.
A failed print is not just “the printer being bad.”
It may be a setting.
A support choice.
A temperature.
A layer height.
An orientation.
A plan that looked fine on screen but did not survive contact with plastic and gravity.
The slicer is where you get to improve the plan.
And in 3D printing, a better plan can be the difference between a real object and a bowl of noodles with ambition.

Jane Calder
I'm Jane Calder, the writer behind Jane Decodes. I research AI, crypto, 3D, web technology, and strange science rabbit holes, then turn them into plain-English explanations for people who like learning but dislike being attacked by jargon.
Usually powered by coffee, browser tabs, and the stubborn belief that almost anything can be explained better.
Related posts
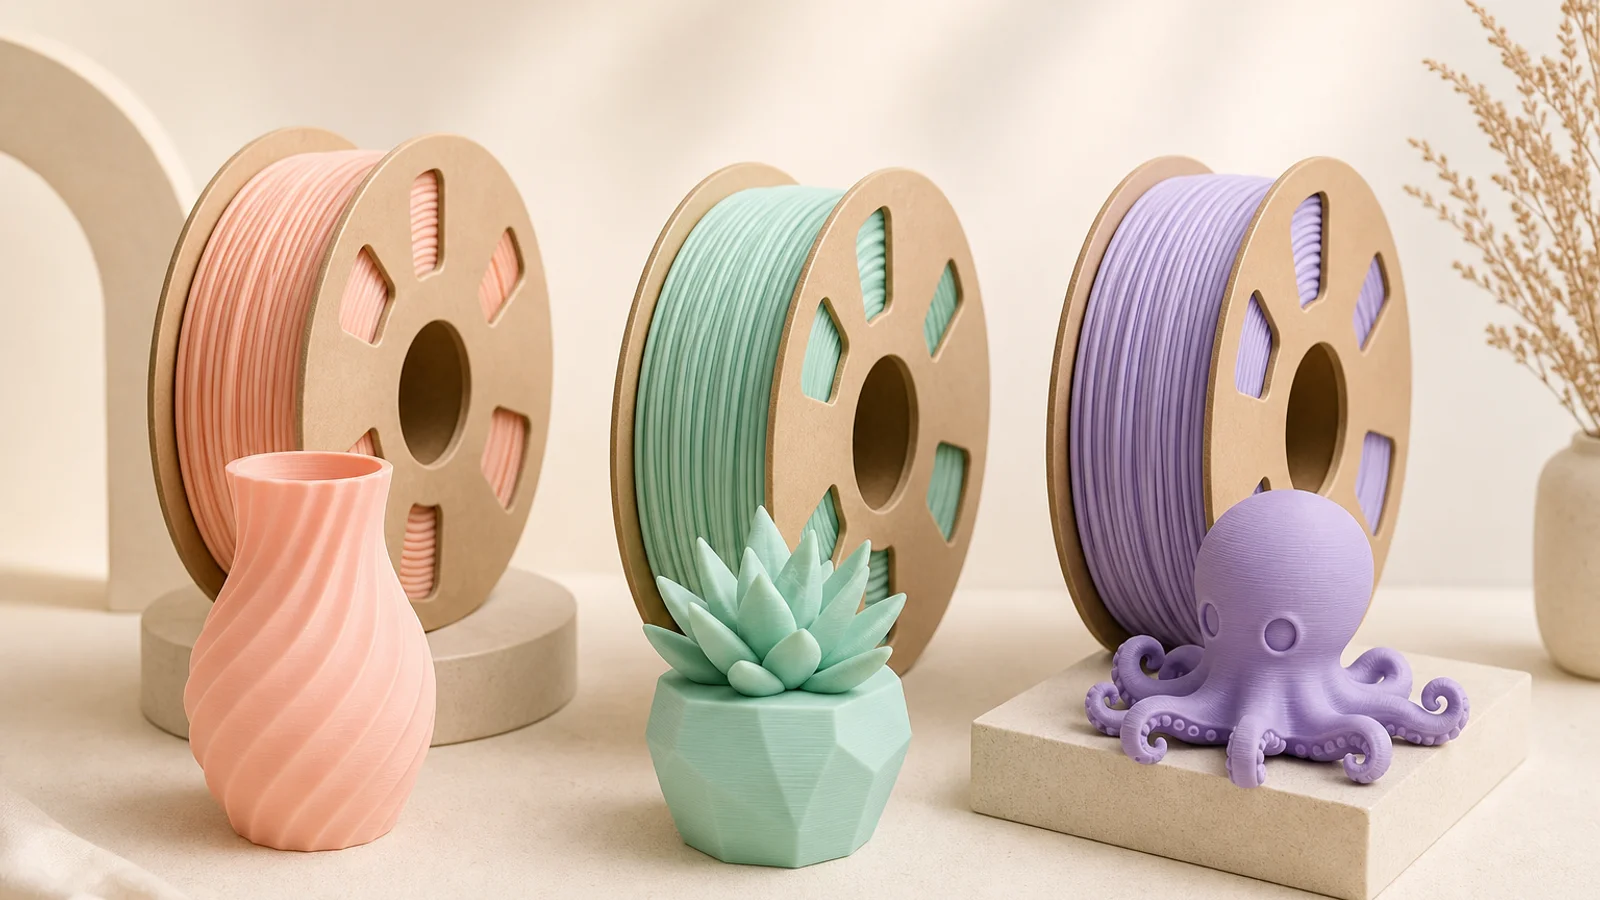
Filament Types Explained: PLA, PETG, ABS, TPU, and the Plastic Personality Problem
A beginner-friendly explanation of common 3D printing filament types, including PLA, PETG, ABS, TPU, print difficulty, strength, flexibility, heat resistance, and when to use each one.
Read article →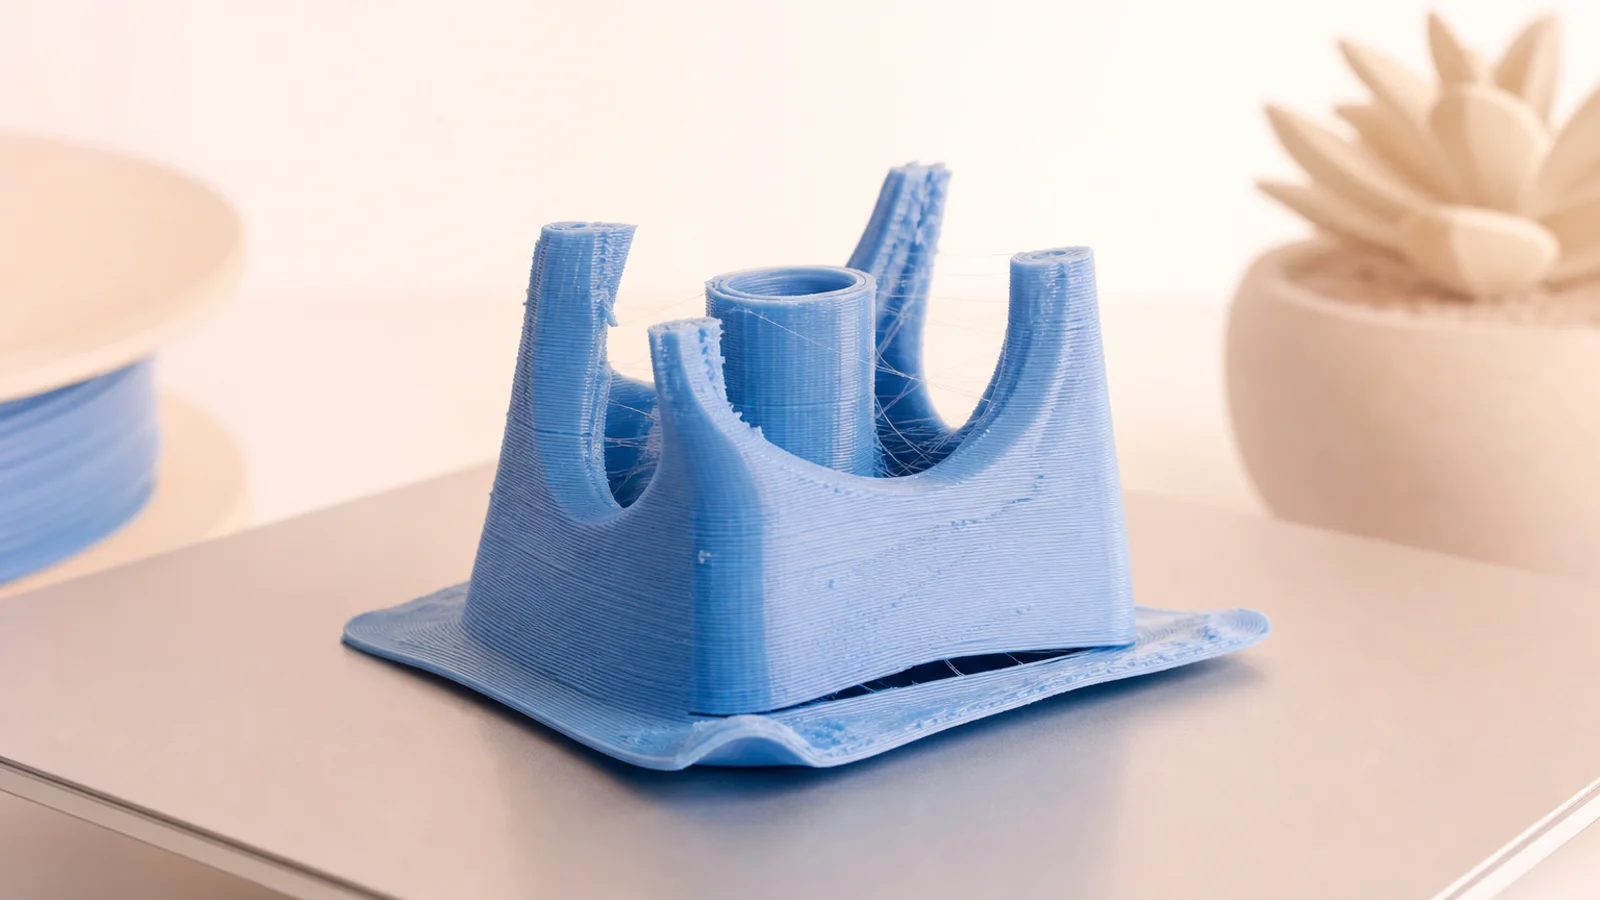
Why 3D Prints Fail: First Layers, Spaghetti, and Tiny Mechanical Drama
A beginner-friendly guide to common 3D printing failures, including first layer problems, spaghetti prints, warping, clogs, stringing, supports, and slicer mistakes.
Read article →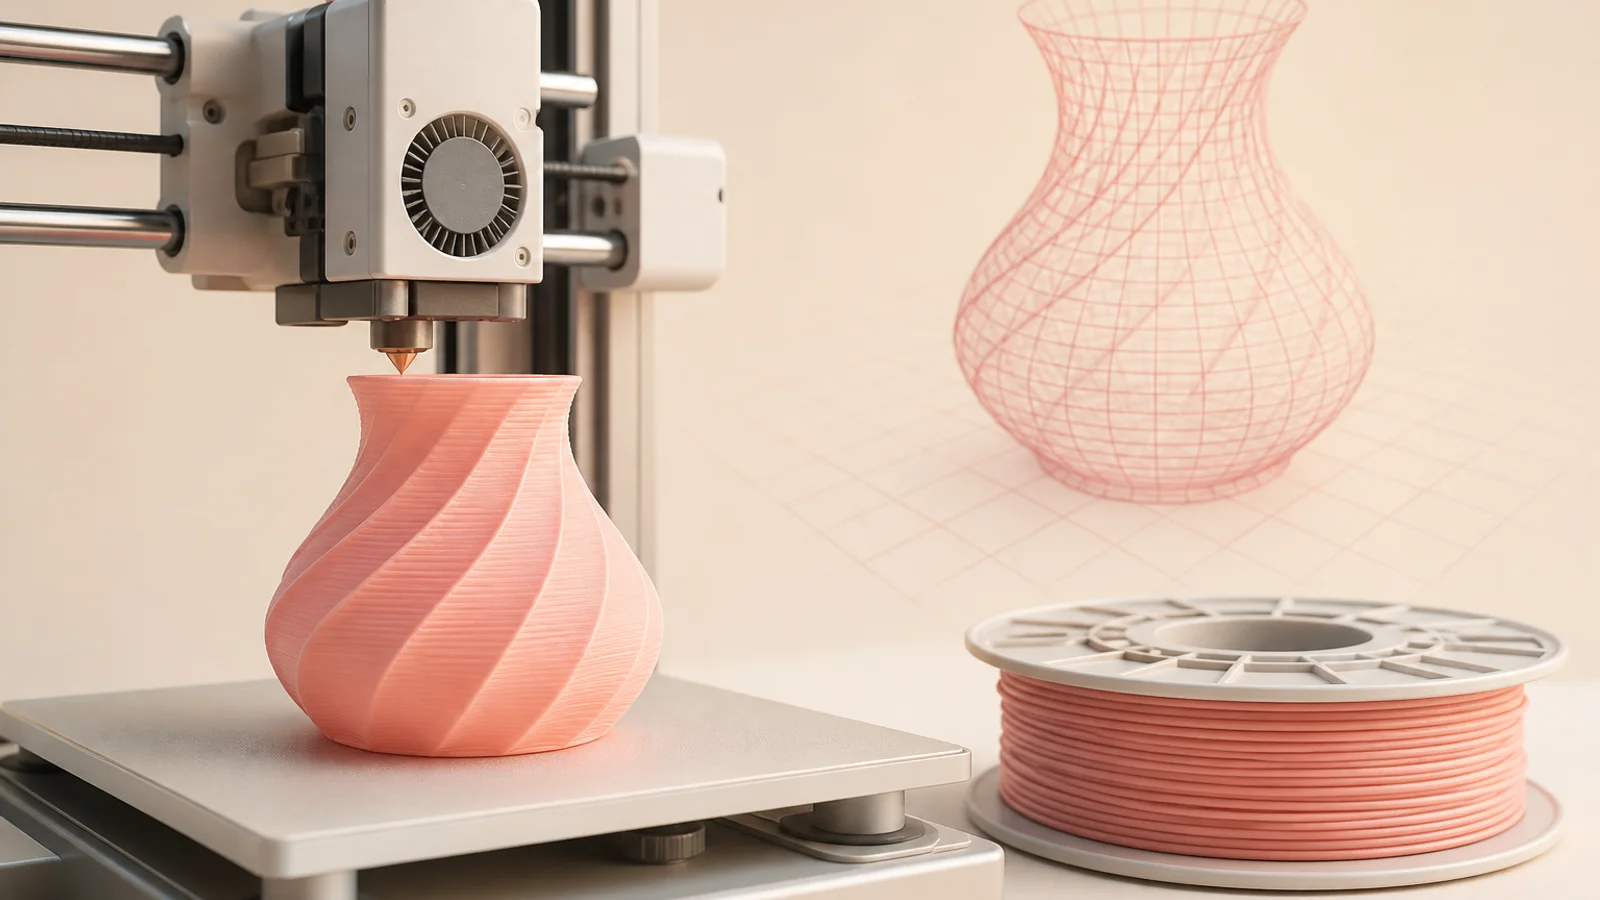
3D Printing Basics: From Digital Model to Physical Object
A beginner-friendly explanation of how 3D printing works, from digital models and slicers to filament, layers, supports, failed prints, and real objects.
Read article →